.webp)
Aloware system requirements
To ensure Aloware performs optimally, make sure your system meets these requirements:es.
- Browser compatibility: To ensure optimal performance, Aloware requires the latest versions of Google Chrome or Mozilla Firefox on Windows or macOS.
- Mobile devices: Mobile devices must run iOS 11+ or Android 5.0+.
- Desktop apps: Desktop apps are available for Windows and macOS, with legacy and Talk Beta versions provided for macOS users.
- Browser extension: The Aloware Chrome Extension boosts productivity by enabling users to make calls, use click-to-call for web numbers, and stay connected while multitasking. Install it from the Aloware Chrome Extension.
- Headset recommendations: For the best call quality, use a headset with an integrated microphone to reduce background noise. Meeting these requirements ensures a seamless experience with Aloware for smooth and uninterrupted communication.
For more details, refer to Aloware system requirements guide.
Setting up your Aloware account
Accessing your Aloware account
- Activate your account
Check your email for a verification link. Click the link to activate your account. - Login to the dashboard
Visit app.aloware.com and enter your credentials to log in. - Receive login credentials
Your Aloware account will be created by the Aloware team, granting you admin access. Look for an email containing your login credentials.

- Familiarize yourself with the dashboard
Explore the main dashboard to understand its layout and the available settings and features.
Inviting users and setting permissions
- Access the Users menu
Navigate to the Users menu in Aloware admin. - Add a user
Click the +Add user button and provide the required details (e.g., first name, last name, and email address). - Assign roles
- Admin – full access to account settings and feature.
- Supervisor – limited permissions to oversee teams and generate reports.
- Agent – basic access to communication tools like calls or messaging.
- Configure how the user will handle calls:
- Using apps – allows calls via web browser, desktop, or mobile apps.
- Using phone number – forwards calls to a specific phone number.
- Will not answer – disables call answering for users with admin roles.
- Adjust user permissions
Based on the role, configure specific permissions such as modifying contact ownership, broadcasting messages, or deleting contacts. - Assign a personal line
Assign a personal line if the user requires a dedicated phone number, ensuring calls and messages related to that line are filtered in Aloware Talk. - Save and finalize
Once all details are entered, click the Add button. The new user will now appear in the users dashboard and can access Aloware with the configured settings.

For more details in user setup guide.
How to add new lines in Aloware
When you sign for Aloware, a line is automatically created for you based on your area code. To add more lines:
- Access the Lines menu
Go to the Lines menu and click the +Add Line button. - Name and configure the line
In the new line wizard, name the line and select a call routing option (e.g., connect to a ring group, connect to a user, or dead end). Click Next: Select Phone Number to continue. - Pick a phone number
Choose the country and enter digits or area codes to search for a phone number. Select one from the results and click Activate Line. - Register and finalize
Add the new line to your campaign or follow the registration prompt if applicable. Use the Review Line option to confirm and finalize your setup. For more details, read the step-by-step guide in adding lines.

- Receiving a call
After setting up your lines:- Test your Aloware number by calling it with a cell phone.
- Ensure the assigned agent’s status is set to available so the call can be received.
- The agent will up the call through Aloware, ensuring your line is configured and functioning properly.
This simple test ensures your line setup is functioning correctly, and your team is ready to handle inbound calls effectively. For detailed instructions, visit the Aloware line setup guide.
Activating AloAI Voice Analytics (Optional)
- Enable call recording preferences
- Use default line settings, always record, or never record.
- Enforce outbound recording settings to prevent changes by agents.
- Access AloAI settings
Navigate to settings > AloAI to enable AI-powered call analytics features. - Activate key features
Turn on call transcription, sentiment analysis, and call summarization for smarter insights. More on AloAI Voice Analytics.

Connecting to a CRM tool
- Navigate to integrations
- Go to Integrations menu from the Aloware admin.
- Choose the CRM you want to connect (e.g., HubSpot, Zoho, Salesforce).
- Authenticate the connection
Follow the integration steps provided for your CRM. Authentication usually requires logging into your CRM account and granting Aloware the necessary permissions. - Sync contacts
Ensure contact lists are synced between Aloware and your CRM for seamless lead management. (Visit the CRMs Connection and Integration page for more details.)

Reporting features
Aloware’s reporting system provides admins and managers with tools to monitor team performance and key communication metrics.
You can configure reports to align with business goals, define qualified calls, and schedule daily activity summaries for calls and SMS. Reports can be customized to include or exclude specific recipients, such as admins or supervisors, and highlight active team members.

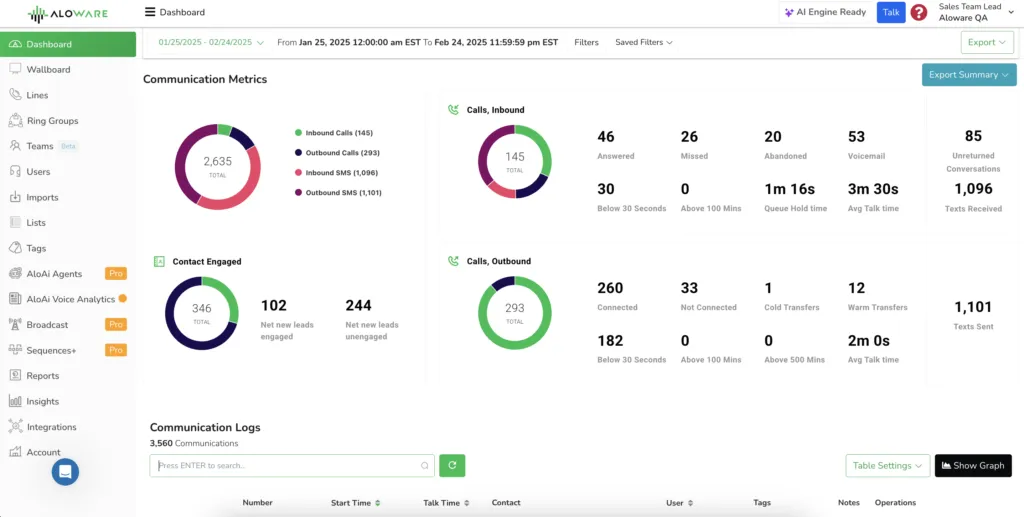
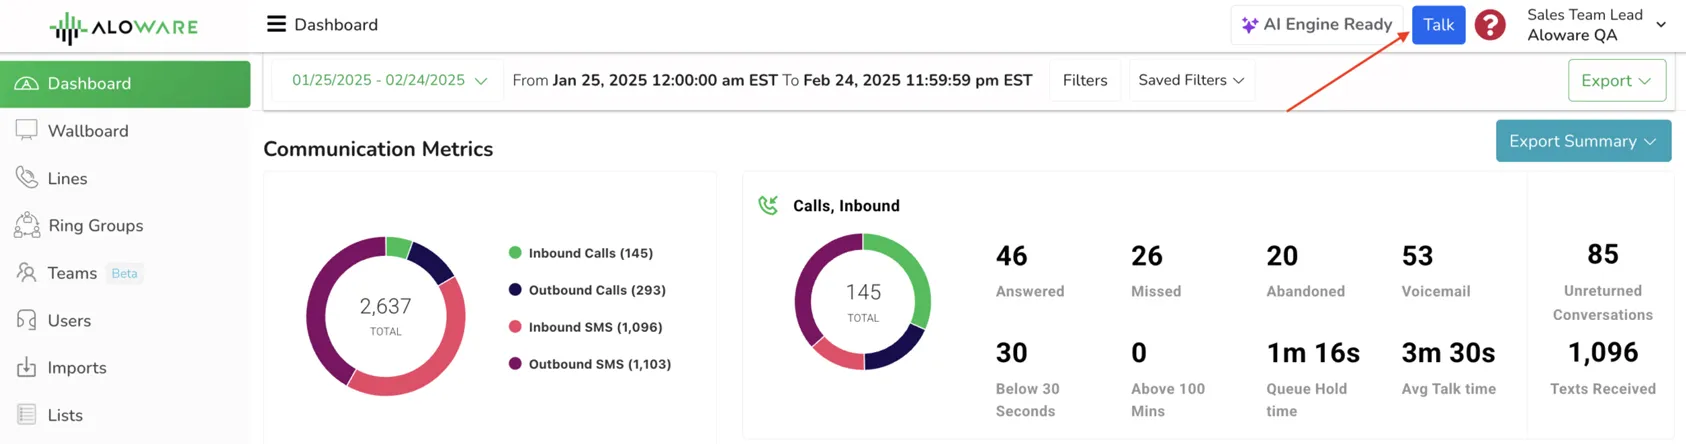
Switching to Aloware Talk
Click the Aloware Talk button in the dashboard to switch to the interface for making calls, sending messages, and managing contacts.
Add contacts in Aloware Talk
- Click Add Contacts and fill in the fields (First Name, Last Name, Phone Number).
- Click Save to store the new contact.
Read more about contacts in this guide.
Making calls with Aloware Talk
- Open the dialer and enter a contact’s name or number.
- Press Call and use available features like muting, holding, and pausing recordings. (More details in this guide).

Sending text messages
- Click the phone icon and switch to Messaging.
- Choose a line and enter your contact’s information.
- Draft your message and press Send. More details in this guide.

Inbound and outbound call settings
Set up call queues, IVR systems, and line configurations to provide seamless support. Learn more in this guide.
Check everything is working correctly
- Test call and SMS features
Use your assigned phone number to make test calls and send test messages to verify functionality. - Review integrations
Verify data is syncing correctly with your connected CRM or other third-party apps. - Adjust settings (if needed)
Revisit your configurations and update any settings based on your initial test results.
Need help?
If you encounter any issues during setup, refer to the support site or contact the Aloware support team directly for assistance.
By following these steps, you’ll have your Aloware account fully configured and ready to use for your team or business!