Connect Claude
Set up Claude with the Aloware MCP.
Add Aloware to Claude AI (web) as an MCP connector so a chat can text, call, create contacts and run other Aloware actions for you. Claude AI authenticates with OAuth 2.1, the sign-in Aloware recommends for every client.
Requirements
- Aloware account: an active account that can open Aloware admin → Integrations → MCP.
- Claude AI account: an active account on claude.ai that can reach Settings → Connectors.
- Chrome browser: keep Aloware and Claude AI open in one browser session, otherwise the OAuth handoff can't finish.
Billing: Aloware treats some MCP tools (texts, ringless voicemails, calls and number lookups) as automated, paid usage. Using MCP tools means you accept the billing terms.
1. Copy the server URL from Aloware
Sign in to Aloware and open Integrations → MCP. Copy the server URL. One URL gives Claude every Aloware tool:
2. Create the custom connector in Claude AI
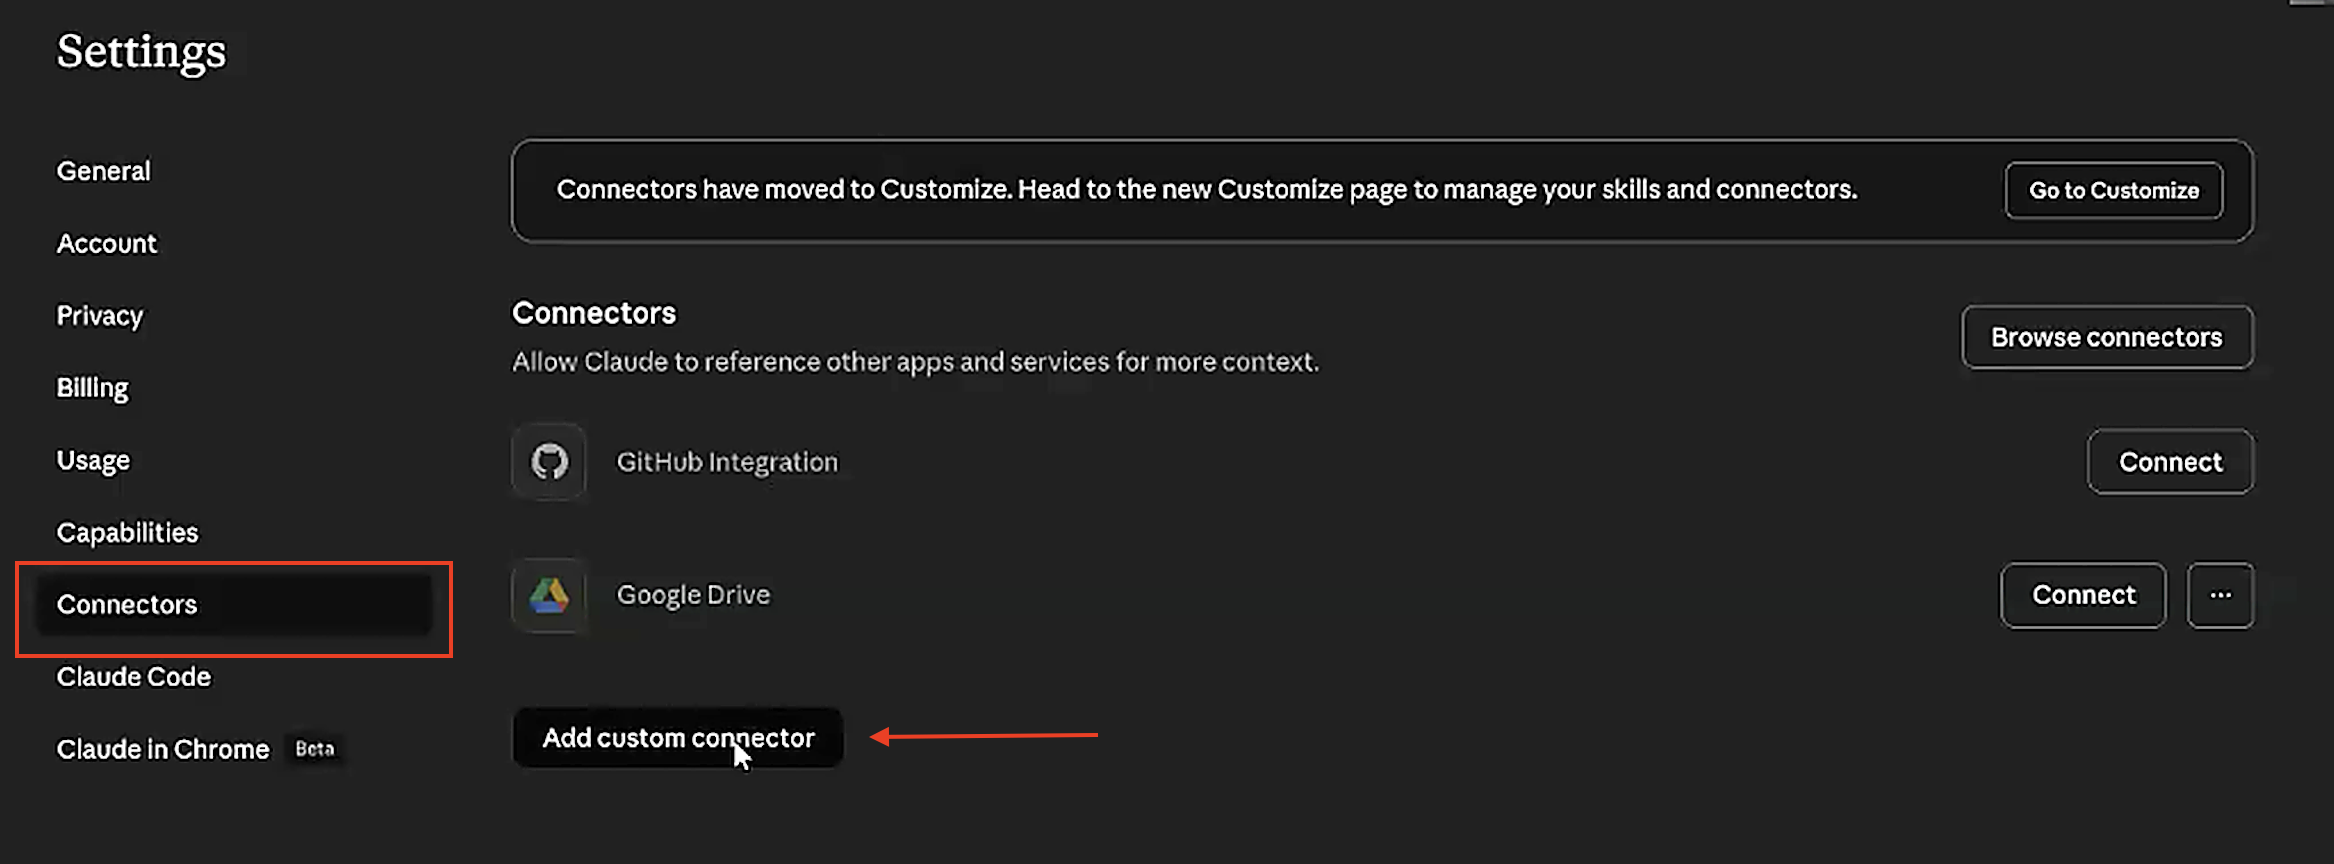
Step 1. Go to Settings → Connectors in Claude AI.
Step 2. At the end of the connector list, click Add custom connector.
Step 3. Complete the Add custom connector dialog:
- Name: any label you'll recognize, such as
Aloware MCP. - Remote MCP server URL: the URL you copied from Aloware, for example
https://app.aloware.io/mcp.
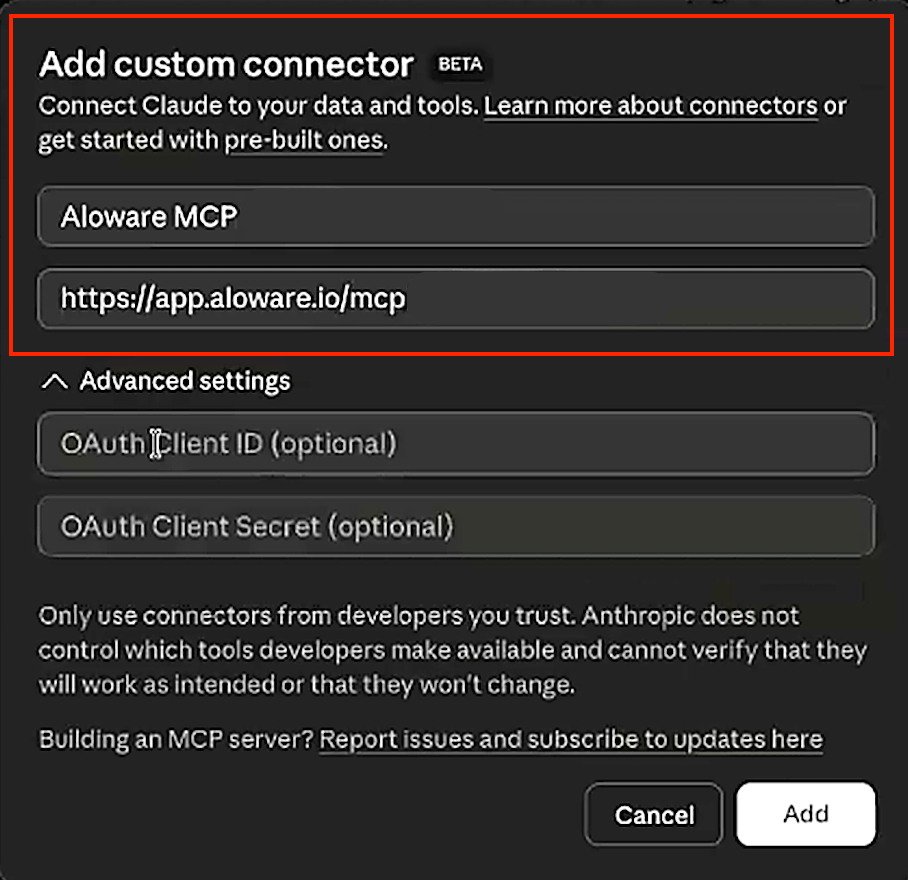
Step 4. Don't open Advanced settings. A standard Aloware connection needs neither OAuth Client ID nor OAuth Client Secret; both are optional.
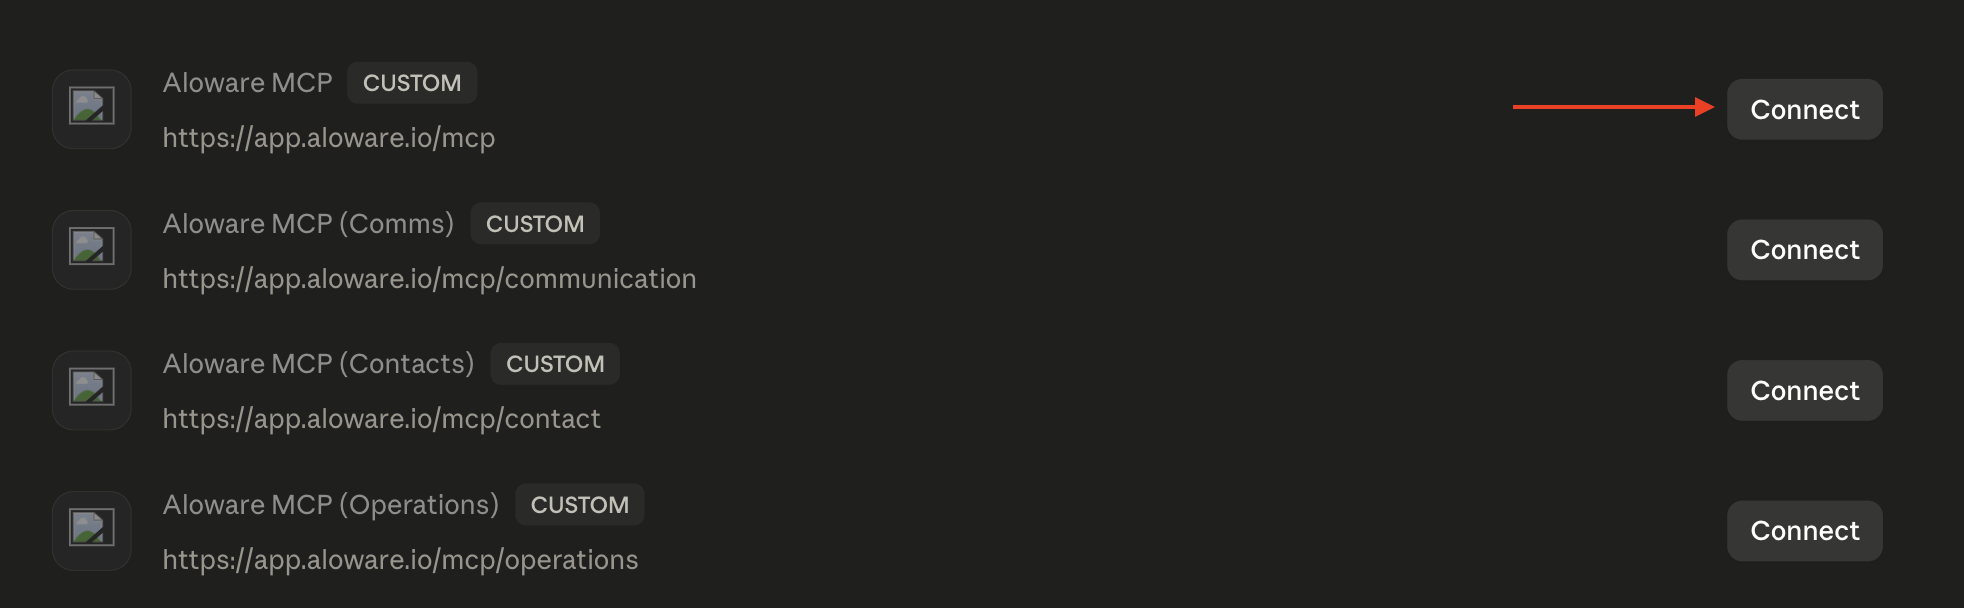
Step 5. Click Add. Your connector now shows in the list with a Connect button.
3. Grant Claude access
Step 1. Click Connect on the connector you just created (Aloware MCP, for example).
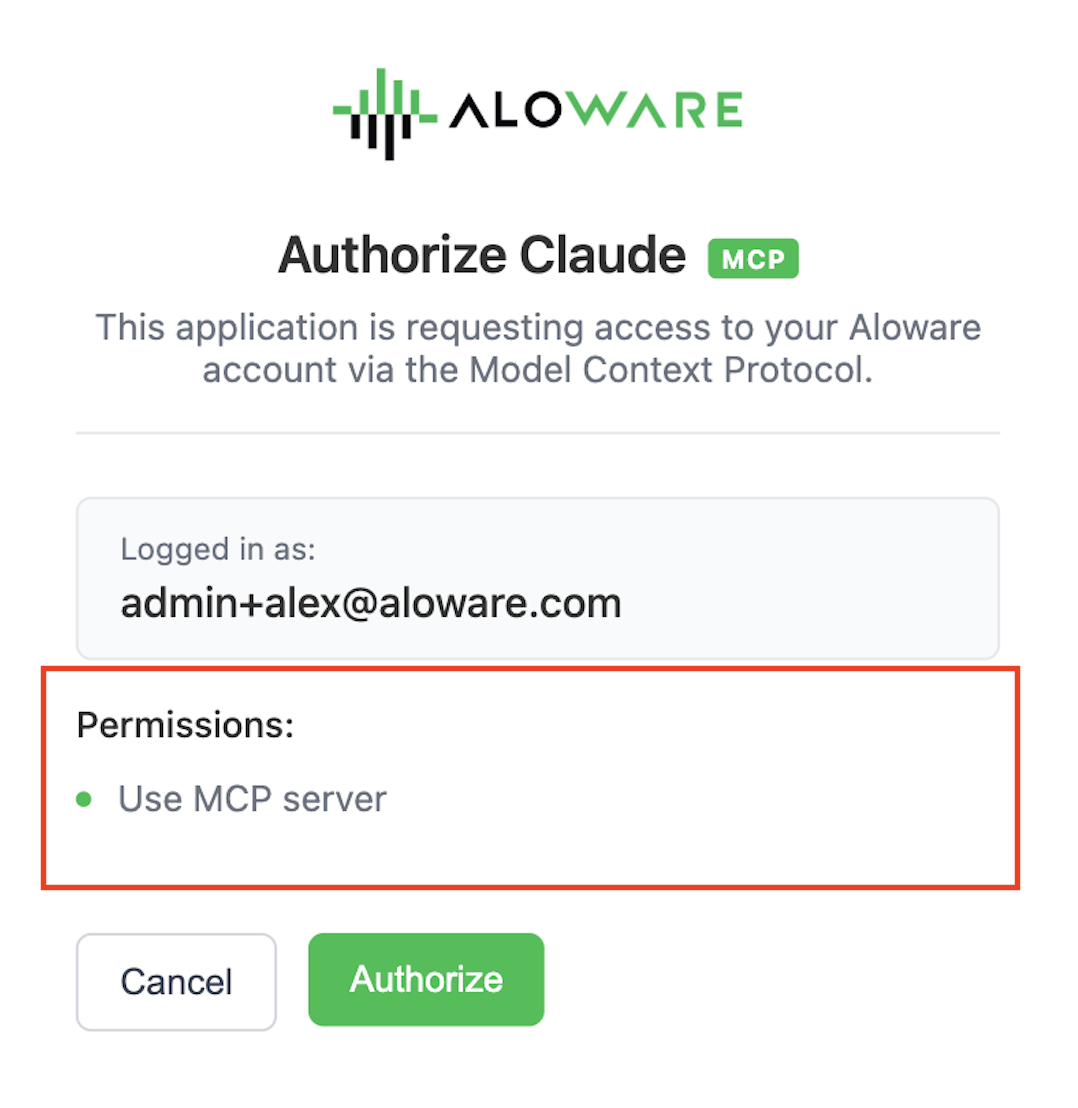
Step 2. Claude opens the Aloware authorization page in a new tab. Check that Logged in as shows the Aloware account you mean to connect.
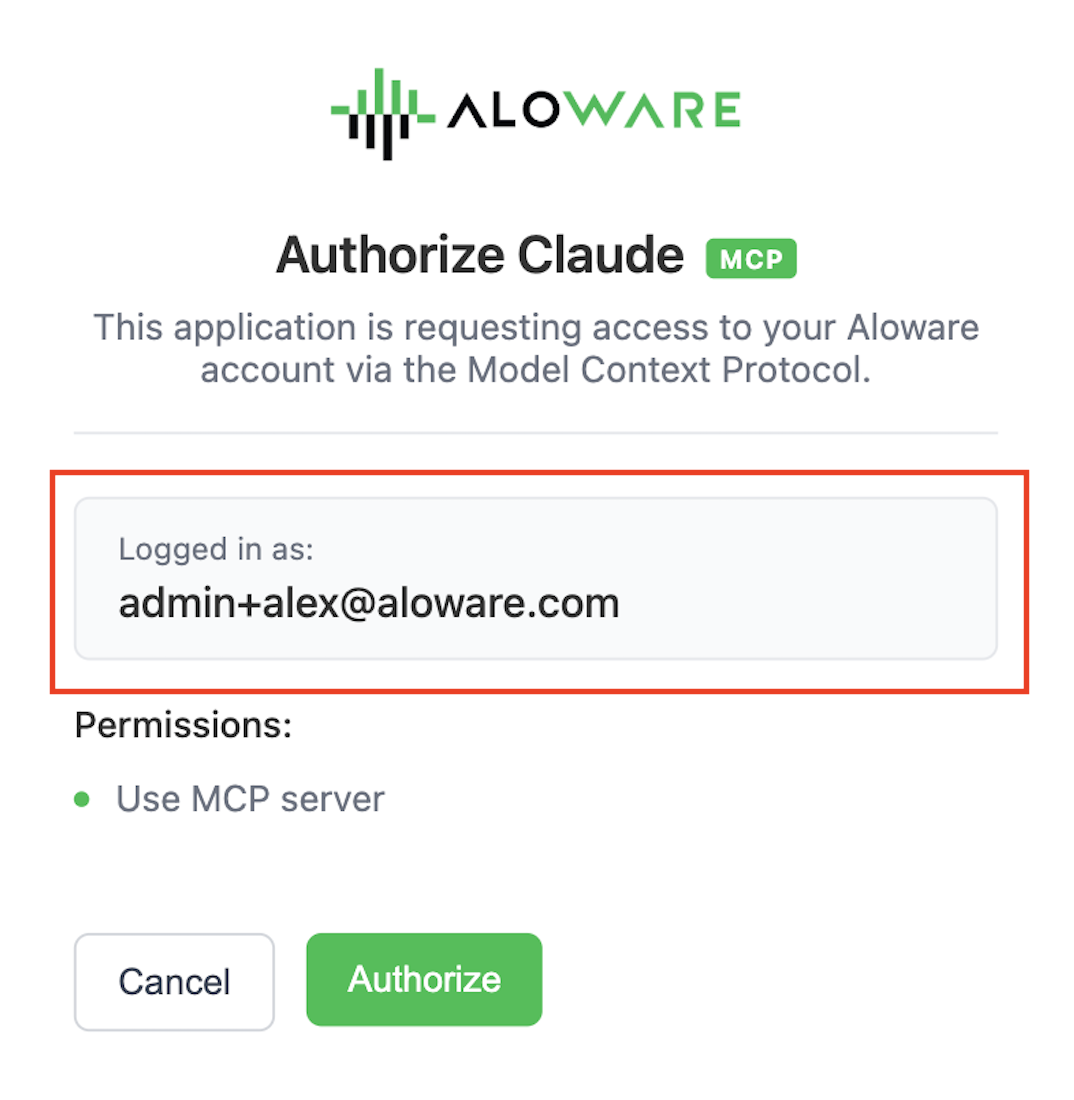
Step 3. The page asks for one permission, Use MCP server. Read it over.
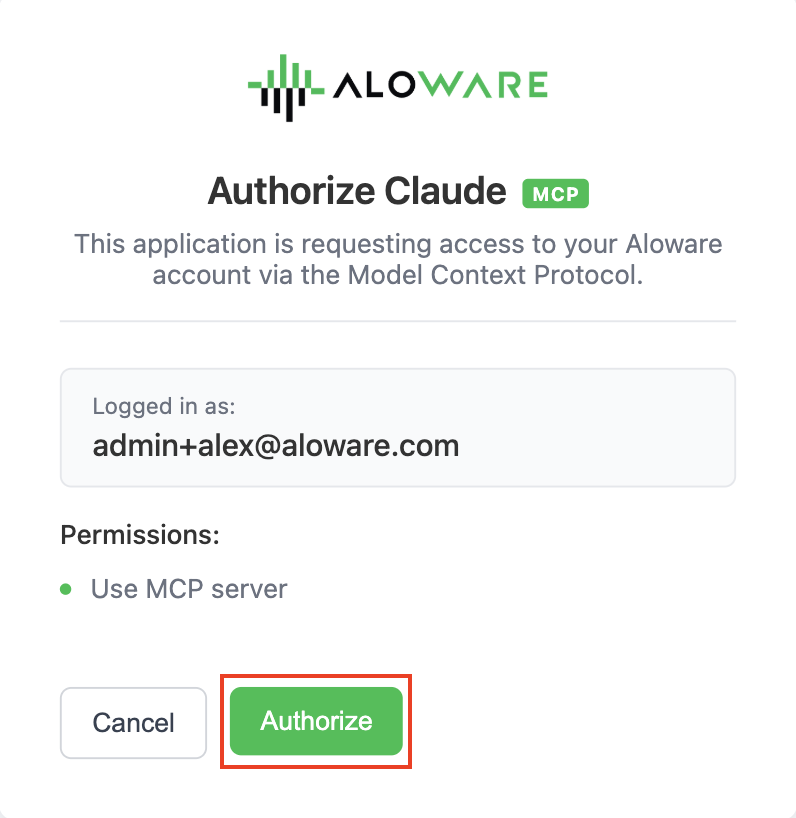
Step 4. Click Authorize.
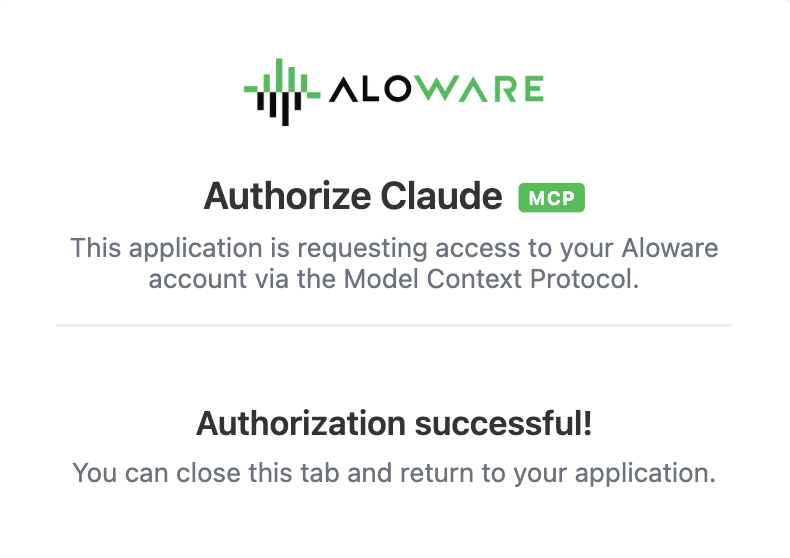
Step 5. When Authorization successful! appears, close the tab and go back to Claude.
Claude now shows Configure on the connector where Connect used to be, plus a "Connected to Aloware" notice in the top right corner.

4. Run a test action
Step 1. Start a new Claude AI chat.
Step 2. Ask for something that needs Aloware, such as "Use Aloware and send a text from 424-555-5555 to 980-555-5555."
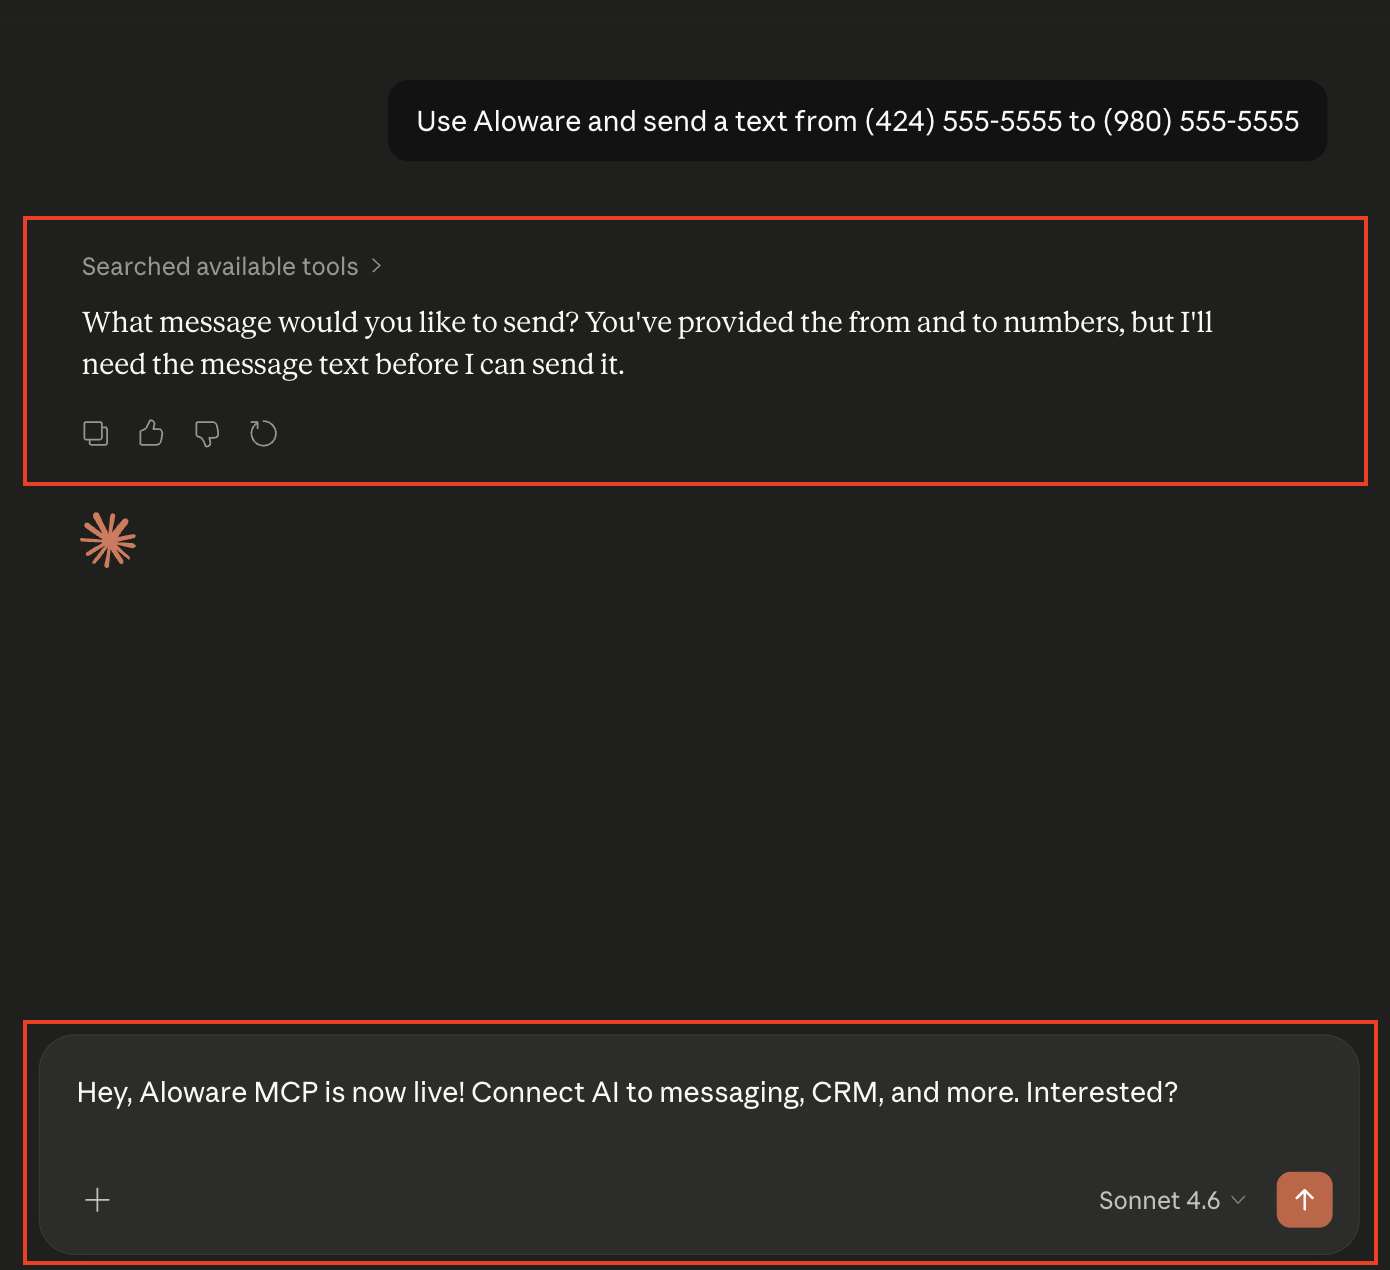
Step 3. Claude looks up the MCP tools it has and may ask you for anything missing, like the text of the message. Answer it, for example: "Hey, Aloware MCP is now live! Connect AI to messaging CRM and more. Interested?"
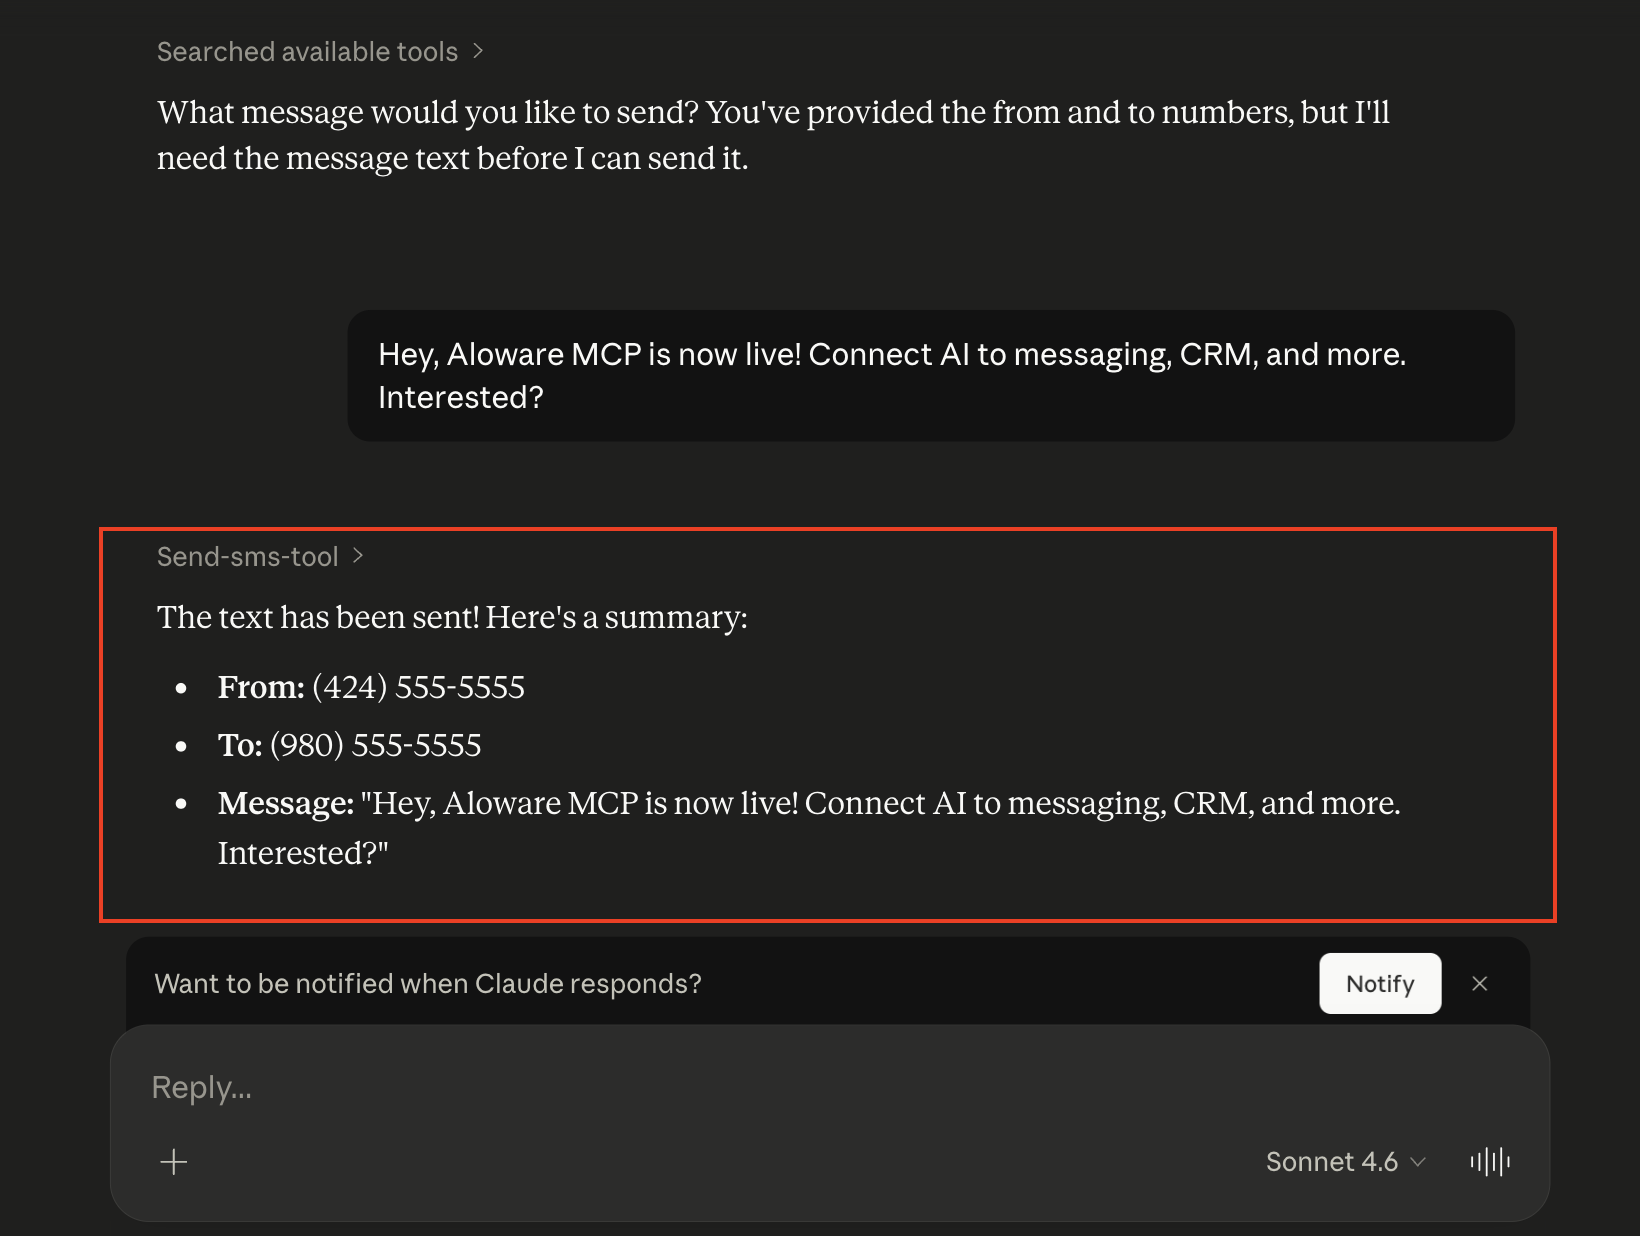
Step 4. Before it runs a tool, Claude asks for your approval with a prompt such as Claude wants to use Send-sms-tool from Aloware MCP. Pick an option:
Once you approve, Aloware carries out the action: the text goes out from the chosen Aloware line, it uses credits, and the contact's timeline records it with Creator Type: MCP.
After you're connected
- Claude can text, call, create leads and use any other Aloware tool.
- Actions hit your live Aloware account immediately and use credits exactly like an action done by hand or through the API.
- Each action is written to the contact timeline as Creator Type: MCP, so you can report on and audit it.
- To disconnect or change the connector later, go to Settings → Connectors in Claude AI.
Our support team can help you set this up.